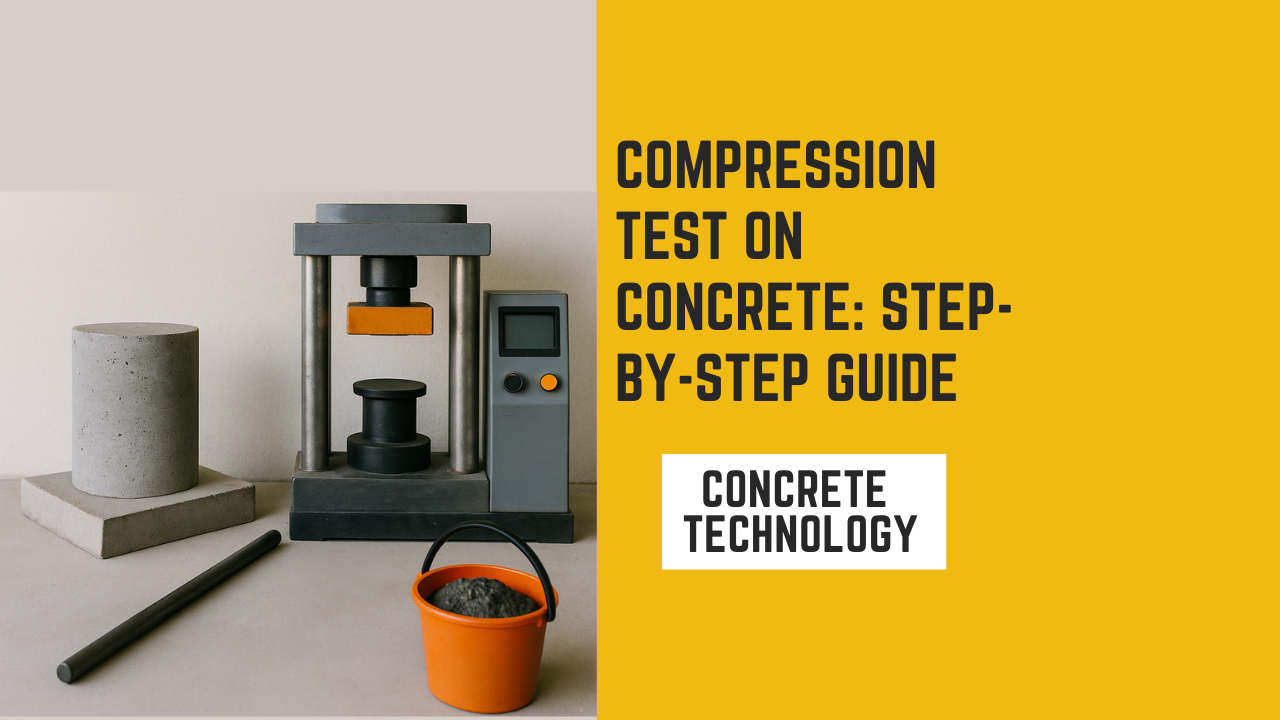
Compression test on concrete: step-by-step guide 2025

Introduction
The compression test is one of the most important and widely used tests in civil engineering to assess the strength of concrete. As concrete is primarily used to resist compressive forces in buildings, bridges, dams and other structures, determining its compressive strength is critical for ensuring structural stability and safety
This comprehensive guide explains the step-by-step process of conducting a compression test on concrete, the equipment involved, important parameters, test standards, interpretation of results, and common errors to avoid
1. What is a compression test on concrete?
A compression test evaluates the ability of a concrete specimen to withstand a compressive load without failing. It helps determine whether the concrete mix meets the required strength for the intended structure.
The test is typically conducted on concrete cubes or cylinders cured for specific durations, most commonly 7 and 28 days.
2. Objective of the Test
- To determine the compressive strength of concrete
- To validate the quality and uniformity of concrete.
- To Ensure compliance with design requirements and building codes
- To investigate structural failures or defects
3. Standard Specimen Dimensions Concrete
specimens for compression tests are typically prepared in two forms
- Cube specimens 150 mm x 150 mm x 150 mm (usually mostly in countries following BS/IS standards)
- Cylindrical specimens 150 mm diameter x 300 mm height (use in the US and countries following ASTM standards)
4. Equipment Required
- Compression testing machine (CTM)
- Moulds for cubes or cylinders
- Weighing balance
- Trowel and tamping rod
- Water tank for curing
- Curing room or chamber
5. Mixing and Casting of Specimens
Step 1: Mix Preparation Prepare the concrete.
Mix according to design proportions. Ensure uniform mixing of cement, sand, aggregates, and water.
Step 2: Filling the Moulds
- Clean and oil the inner surfaces of the molds.
- Fill the mold in three equal layers.
- Compact each layer by tamping 35 times with a tamping rod.
- Level the top surface with a trowel.
Step 3: Curing
- After 24 hours, remove the specimens from the molds.
- Submerge them in a curing tank at 27±2°C.
- Typical curing periods are 7 days, 14 days, and 28 days.
6. Testing Procedure (Step-by-Step)
Step 1: Surface Preparation
Ensure the specimen surface is clean and smooth.
Wipe off excess water before placing it in the testing machine.
Step 2: Placing the Specimen
Place the cube or cylinder centrally on the base plate of the CTM.
Ensure proper alignment to avoid eccentric loading.
Step 3: Load Application
Apply load continuously and uniformly at a rate of 140 kg/cm²/min (as per IS code) or 0.25 MPa/s to 0.35 MPa/s (as per ASTM).
Continue loading until the specimen fails or fractures.
Step 4: Recording Results
Note the maximum load at failure.
Calculate compressive strength using the formula:
Example: If a 150 mm cube fails at 600 kN,
7. Acceptance Criteria
As per IS 456:2000 (Indian Standard):
The average of three specimens should not be less than the required strength.
No individual specimen should be below the target strength by more than 15%.
As per ACI 318 (American Standard):
The average of three consecutive tests should be ≥ specified compressive strength (f’c).
No test result should fall below f’c by more than 3.5 MPa.
8. Factors Affecting Compressive Strength
- Water-cement ratio
- Quality of materials
- Mixing and compaction method
- Curing conditions
- Age of concrete
- Shape and size of specimen
9. Interpretation of Results
A higher compressive strength indicates better load-carrying capacity.
Lower strength may suggest poor mixing, improper curing, or bad quality control.
Consistent test results confirm uniformity in production.
10. Common Errors to Avoid
- Improper mixing or batching
- Inadequate compaction
- Incorrect curing duration or temperature
- Misalignment of the specimen in CTM
- Sudden application of load
- Testing wet or damaged specimens
11. Safety Considerations
Wera PPE (gloves, goggles, safety shoes)
Avoid standing close to the machine during testing
Keep hands away from moving parts
Ensure machine calibration before use
12. Advantages of Compression Testing
- Simple and cost-effective
- Standardized process worldwide
- Reliable for quality control
- Help in material certification
13. limitation of the Test
- Destructive in nature
- Results vary with specimen size and shape
- Does not consider tensile or flexural strength
14. Compressive Strength of Common Concrete Grades
Concrete Grade Strength (MPa)
M10 10 MPa
M15 15 MPa
M20 20 MPa
M25 25 MPa
M30 30 MPa
M35 and above >35
Conclusion
The compression test is the most common method used to evaluate this property. It involves applying a compressive force to a concrete specimen (usually a cube or cylinder) until failure. The result helps engineers determine whether the concrete mix meets the design requirements.
Compression testing is a cornerstone of concrete quality assessment in civil engineering. By following standardized methods and avoiding common errors, engineers can ensure structural integrity and compliance with design codes. Whether it’s for small residential buildings or massive infrastructure projects, knowing the compressive strength of concrete is essential for safety, durability and performance


